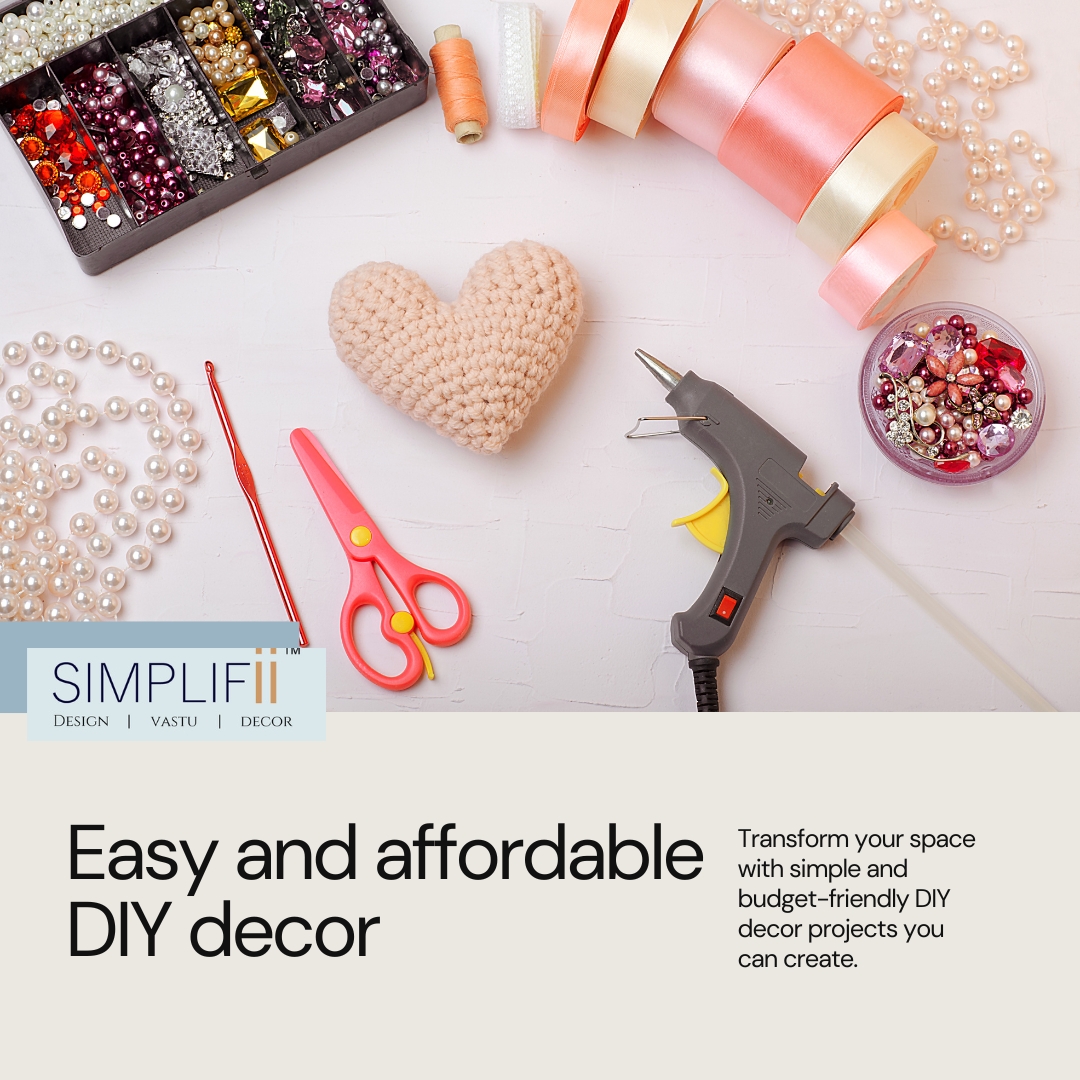
Welcome to our blog on DIY Home Projects! If you've ever wanted to add a personal touch to your home without breaking the bank, you're in the right place. Today, we'll share step-by-step guides for easy and affordable DIY decor projects that will transform your space with creativity and charm.
Project 1: Rustic Picture Frame
Materials Needed:
- Wooden planks
- Sandpaper
- Wood stain or paint
- Nails or wood glue
- Picture hanging hardware
Instructions:
- Measure and Cut the Wood: Determine the size of the frame you want and cut the wooden planks accordingly.
- Sand the Edges: Smooth out any rough edges with sandpaper.
- Stain or Paint: Apply a wood stain or paint in your desired color. Let it dry completely.
- Assemble the Frame: Use nails or wood glue to join the planks together to form the frame.
- Attach Hardware: Add picture hanging hardware to the back of the frame.
- Insert Your Picture: Place your favorite photo or artwork inside, and your rustic picture frame is ready to hang!
Project 2: Mason Jar Herb Garden
Materials Needed:
- Mason jars
- Potting soil
- Herb seeds or small herb plants
- Labels and marker
- Twine (optional)
Instructions:
- Prepare the Mason Jars: Clean the jars thoroughly and dry them.
- Fill with Soil: Add potting soil to each jar, leaving some space at the top.
- Plant the Herbs: Plant your herb seeds or small herb plants in the soil.
- Label the Jars: Write the name of each herb on a label and stick it to the jar.
- Optional: Add Twine: Wrap twine around the neck of each jar for a rustic look.
- Place in Sunlight: Put your mason jar herb garden in a sunny spot and water as needed.
Project 3: Fabric-Covered Bulletin Board
Materials Needed:
- Corkboard
- Fabric of your choice
- Staple gun
- Scissors
- Decorative push pins
Instructions:
- Cut the Fabric: Measure the corkboard and cut the fabric to size, leaving a few extra inches on each side.
- Attach Fabric to Corkboard: Lay the fabric flat and place the corkboard on top. Fold the fabric over the edges and staple it to the back of the board.
- Smooth Out Wrinkles: Ensure the fabric is smooth and wrinkle-free on the front.
- Add Push Pins: Use decorative push pins to secure notes, photos, or other items to your new bulletin board.
- Hang and Enjoy: Mount your fabric-covered bulletin board on the wall and enjoy your stylish new organizer!
Conclusion
DIY home projects are a wonderful way to personalize your living space without spending a fortune. Whether you're crafting a rustic picture frame, starting a mason jar herb garden, or creating a fabric-covered bulletin board, these projects are sure to add charm and functionality to your home. Happy crafting!


